Developments in My Garden - The Greenhouse
After about 10 years the small home-made polytunnel was starting to fall apart so a new greenhouse was called for. A green, powdercoated aluminium model fourteen feet by eight was purchased and this page shows how it was installed. A suitable, sheltered site was chosen in the orchard which is just outside the vegetable plot. As there has been no fruit on the apple trees for a few years due to the ravages of the Bullfinches which steal all the fruiting buds in the early spring, the removal of a couple or trees was an easy decision. The two that were removed had also become infected with Canker.

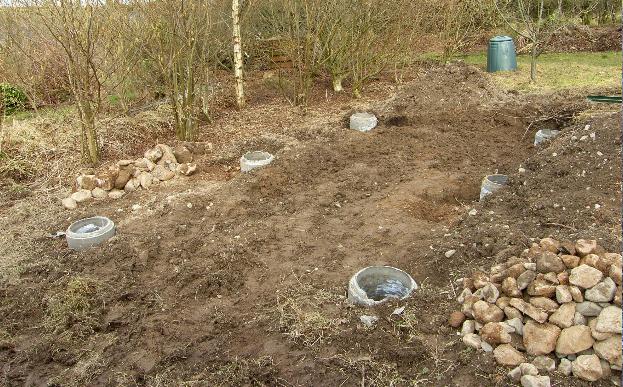
The intended position of the greenhouse is marked by the four white posts.
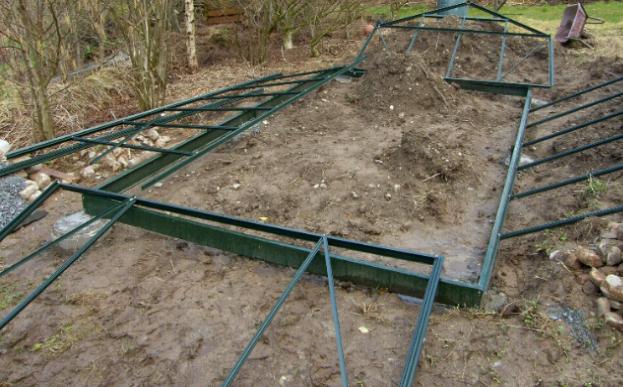
Six concrete pipes were buried vertically with the tops level, to act as anchors for the corresponding legs of the metal base. (They are bigger than specified in the assembly instructions as the builder's yard was out of that size.) As planting will be directly into the ground the soil was dug over and improved with barrowloads of compost at this stage due to the ease of access.
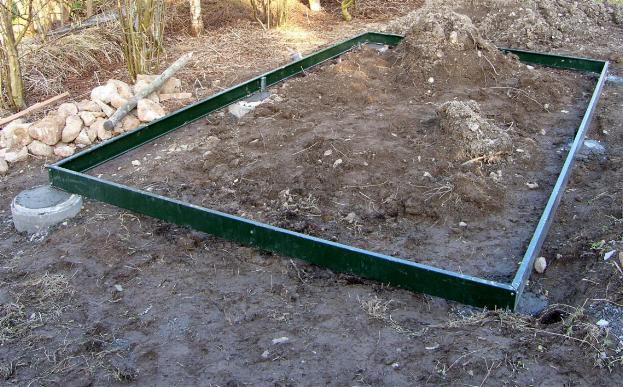
A plug of concrete was placed in the base of the pipes which were then filled to within about 300mm from the top with gravel. The base was assembled and placed over the pipes with the anchoring struts in the pipes which were then filled to the top with more concrete, with the base raised slightly and levelled. As the base can parallelogram it was squared by equalling the diagonals.
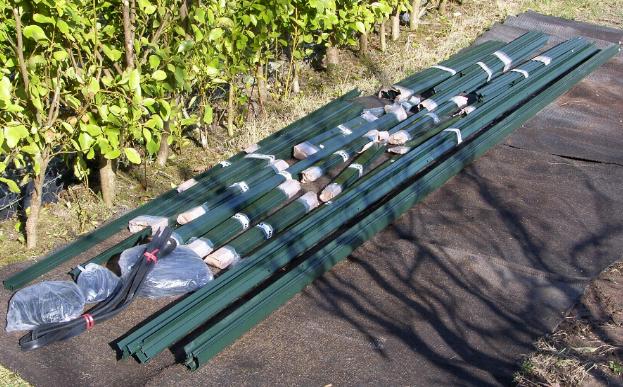
After a few days the concrete securing the base was set so it was time to lay out the parts for the upper structure. They take up very little space in their flat-pack state, the crate of glass was the bulkiest item. Not shown here - the glass was stacked indoors at this time.
The two sides and the gable ends were assembled and laid around the base.
With the sides supported in their vertical positions they were bolted together.
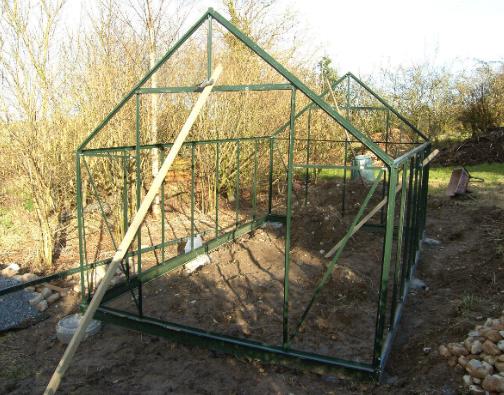
The ridge bar was fixed in place and the sloping glazing bars of the roof installed. The four roof vents could then be attached and the two sliding doors fitted. The picture below was taken after some very heavy rain, the lying water was probably due to hollows in the disturbed soil, but as a precaution a field drain was dug along the southern side which faces slightly higher ground.

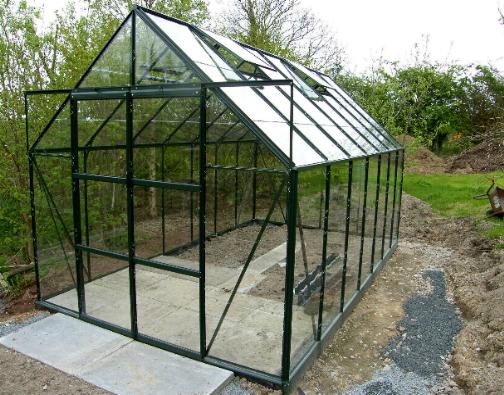
The toughened glass was fixed in place using spring clips, starting with the roof, then the sides. An area at the front was paved with concrete flags which could be used for working and storing tender specimens in winter.
As there is no continuous foundation between the anchoring pipes, a vertical barrier of builders damp course material was buried to about 40cm to prevent the horizontal ingress of roots. This extends above ground to give some added protection to the metal base from scratching by grit or small stones in the soil. At the door this material protects both sides where the flooring has been laid flush with the top of the base to avoid an awkward step-over.